This is a review and installation how-to of the Jtec 987 Cayman LED Tail lights. I purchased the ‘Smoked Red + Clear Signals LED Tail Light’. Be careful as the other three options are dramatically different looking and though Oliver Tan will ask you to verify your choice you still want to be crystal clear which ones you want.
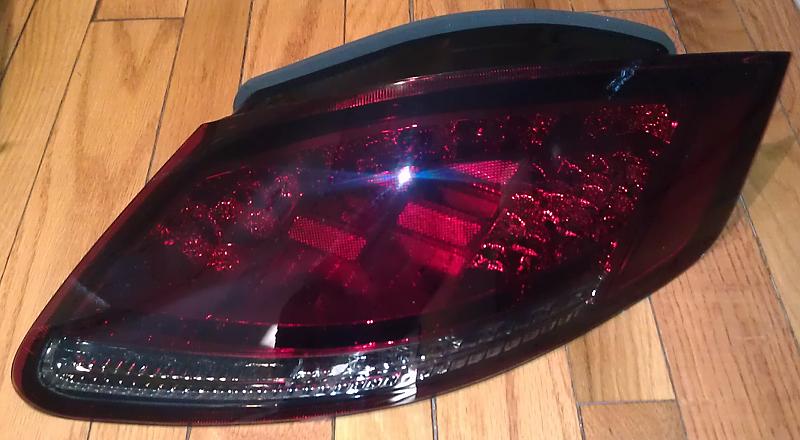
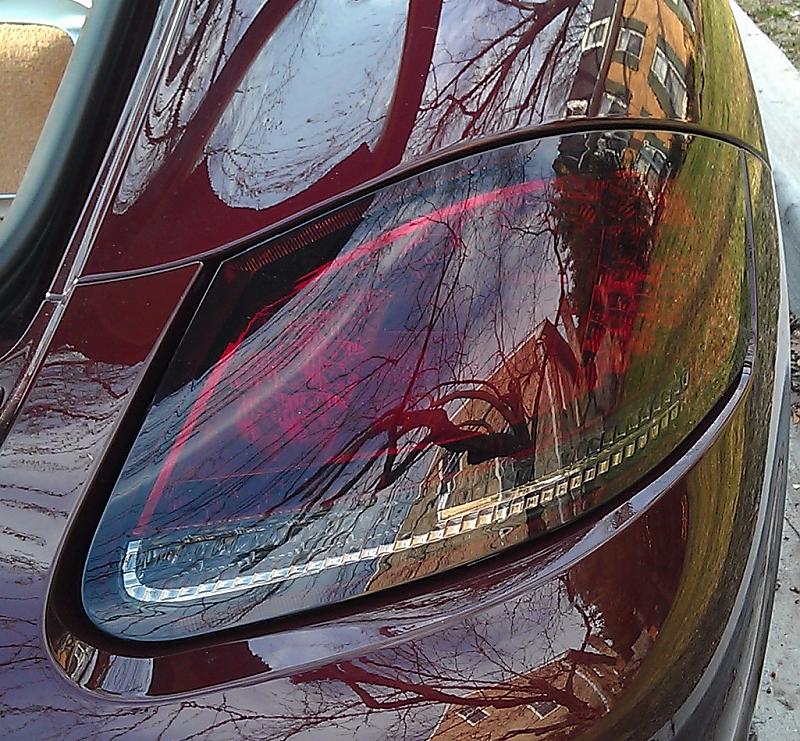
The Smoked Red Tail Light option appears read when light is shining on it from the rear but changes to a deep burgundy when the light is not hitting the reflectors inside. It almost matches the Carmon Red color of my 2006 Cayman S in the pictures.
The entire removal and installation should take about 30 minutes and can be accomplished by anyone that is not a natural danger to themselves and others. Frankly, you’ll spend more time cleaning than wrenching. No mechanical knowledge or skill is required beyond being able to change the socket wrench from ‘Off’ to ‘On’. The only tool you will need will be an 8mm regular (6 or 12 point short, not deep) socket, preferably with a fine toothed, stubby socket wrench as the left side nuts are in a more restricted location that is awkward to get to even with a flexible joint. You could do it with a regular 8mm wrench if it is short enough and you are patient – a ratcheting wrench would be even better. Also, you’ll want some paint safe cleaner and a soft rag.
The packaging is excellent with each light separately bubble wrapped, foam tipped, cardboard socketed at the ends to hold it away from the edges and boxed. The two boxes are shipped within a third box for even more safety.
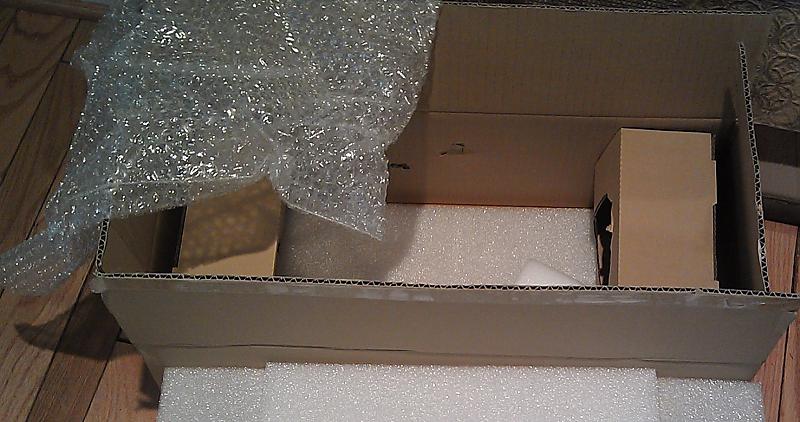
You will immediately notice that the build quality of these lights exceeds the OEM parts. They are very solid and beautifully molded. Remove them from the packaging and set them aside someplace where you won’t step on them. Save the box for shipping your old set to your new eBay buddy.
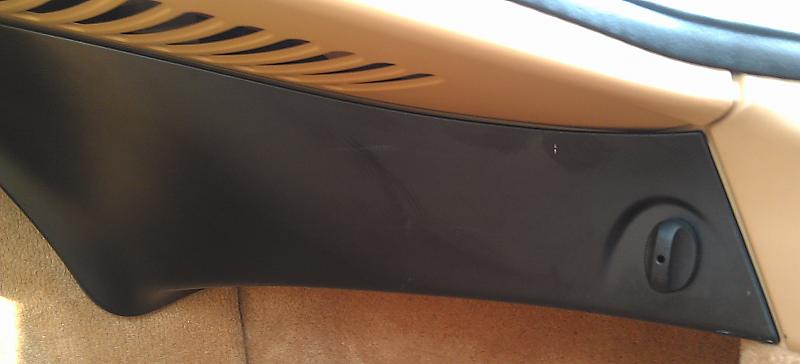
Step 1 – Remove the Tail Light Covers
Pop the rear hatch and remove the two plastic covers in the interior behind the tail lights. This is easily accomplished by turning the obvious knob counter clock-wise a half turn. You will hear the cam align with the slot in the body that allows the cover to be pulled into the car enough to disengage two plastic covered pins (do not lose the little white plastic pin covers that keep the cover tight and rattle free as they fall off easily!) and then move the cover toward the center of the car to disengage a single similar pin on the outside edge pointing toward the side of the car.
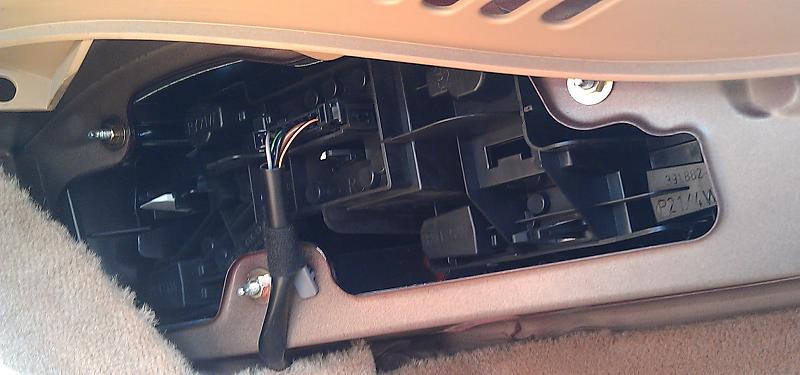
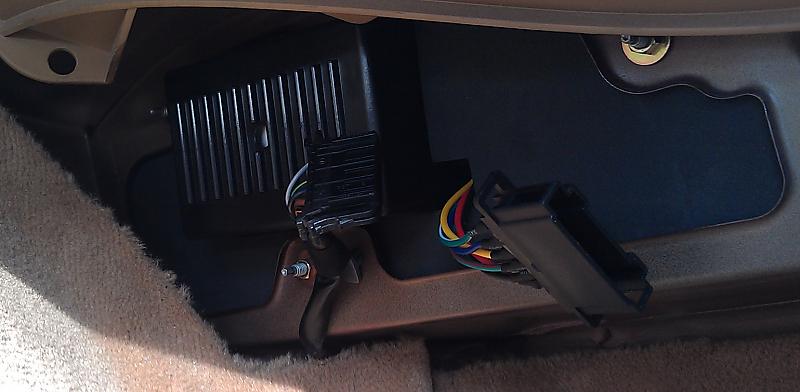
Step 2 – Remove the Tail Light Connector and Fasteners
Unclip the connector by squeezing gently on the two short sides and pulling the connector toward the front of the car. Next remove the three bright yellow metal nuts clearly visable. Some care should be taken not to drop them as you may find yourself search behind the carpeting with a magnet. Set them aside where you won’t loose them as they will be reused.
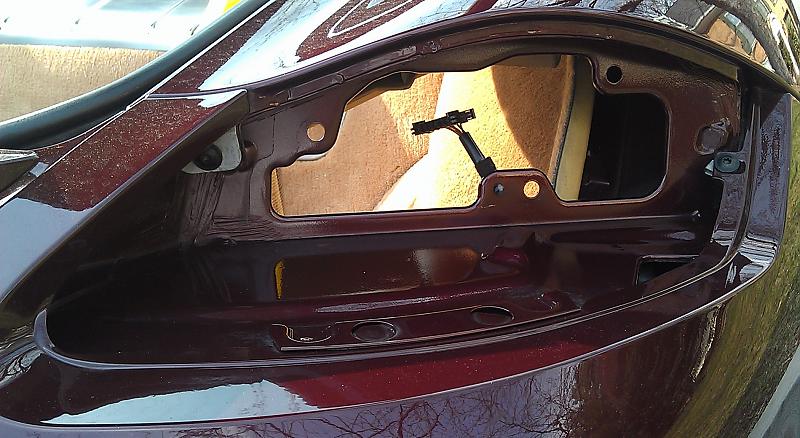
Step 3 – Remove the OEM Tail Light Assembly
Once the three nuts have removed you can gently push the back of the tail lights out a little bit at a time until you can pull the out from the rear of the car. They come straight out and unless the threads of the three studs your removed the nuts from are hanging there will be nothing else preventing it from being removed. You will be left with an empty tail light bay.
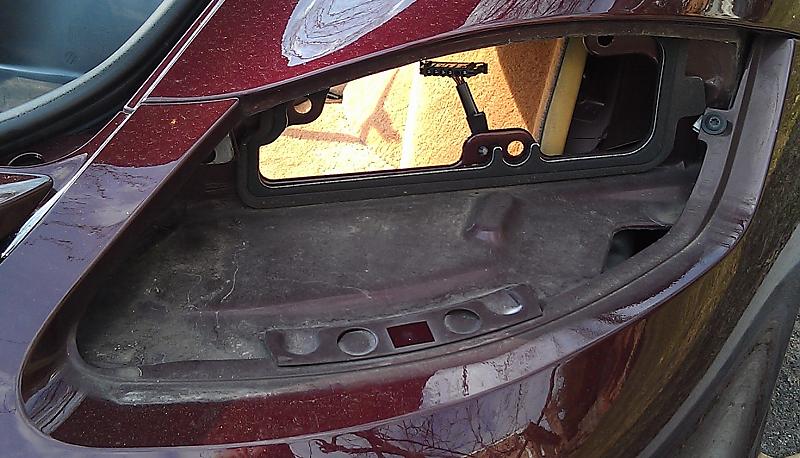
Clean it as it will be dirty and you will probably never see this area again!
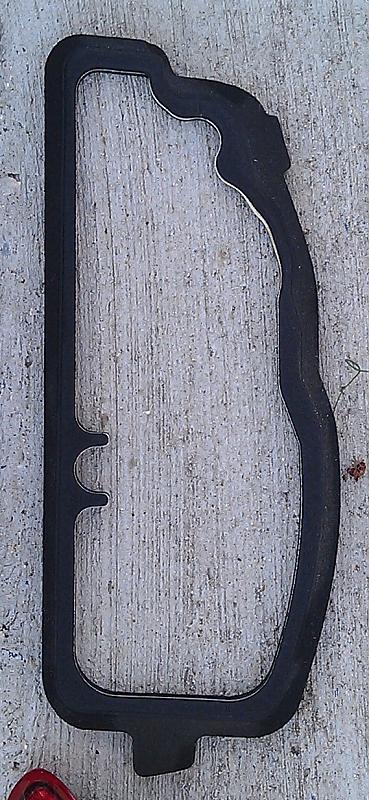
Make sure that the foam rubber gasket comes off with the tail light as it is not needed for the LED tail lights as they have their own gasket.
Step 4 – Install the new LED Tail Lights, Connector and Fasteners
Make sure the tail light connector is out of the way (inside the car rather than inside the exterior bay) so it doesn’t block the light from seating. The Jtec LED tail lights are bulkier in the back than the OEM tail lights so they need to be carefully coaxed in from the rear, raising the lenses slightly until the back clears. There is no hurry so be careful about scratching the bumper cover. Don’t push it in if it binds at all – it is a smooth fit. From the inside of the car, align the three studs on the tail light with the three holes. If they don’t go all the way through the holes make sure you removed the OEM gasket and that the new connector has been pulled through into the car. Nothing should prevent the solid black block on the back of the new lights from fitting into the hole in the car. Carefully (as in don’t drop them again) thread the three nuts back onto the studs and hand tighten with the wrench. No need to over tighten as these are not structural fasteners. You can’t get a torque wrench in there so I won’t bother posting the spec. Finally, reattach the car’s connector to the new tail light connector. It only fits one way with the car’s connector having two small rails that fit into matching grooves on the tail light’s connector. They should snap on when fully connected.
Step 5 – Test the New LED Tail Lights
Turn the ignition key far enough to turn on the accessories and then turn on the lights. The tail lights should be lit. Try the blinkers. Try the brakes (I’m told if you press on the brakes and then run REALLY FAST to the back of the car they will still be lit – ask a friend to help or watch the shinny grill of the car parked behind you). If either don’t work make sure the connectors are snapped on correctly. A gentle tug should not pull them off without squeezing the sides of the connector.
Step 6 – Install the Tail Light Covers
The covers go back on in the revers order. Making sure the two plastic caps are on the inside pins, slide the single outside pin into the hole in the outside trim piece and then move the inside edge toward the back of the car so the two inside pins go into their holes. Its not rocket surgery. Turn the knob clockwise until it locks the piece into place. Remove your tools from inside the car. Remove your head from inside the car. Close the rear hatch. Clean our old lights, take pictures of them, and repack the in the perfect boxes you have. Keep them for when a stock 987 Cayman is worth $1,000,000 and incandescent tail lights are the newest vice. Enjoy your updated Cayman!
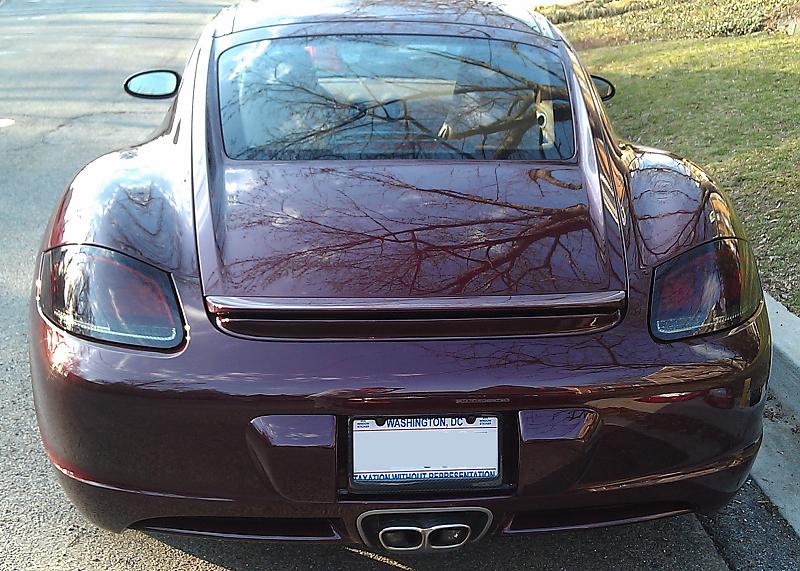
Stock (Left) vs LED (Right)
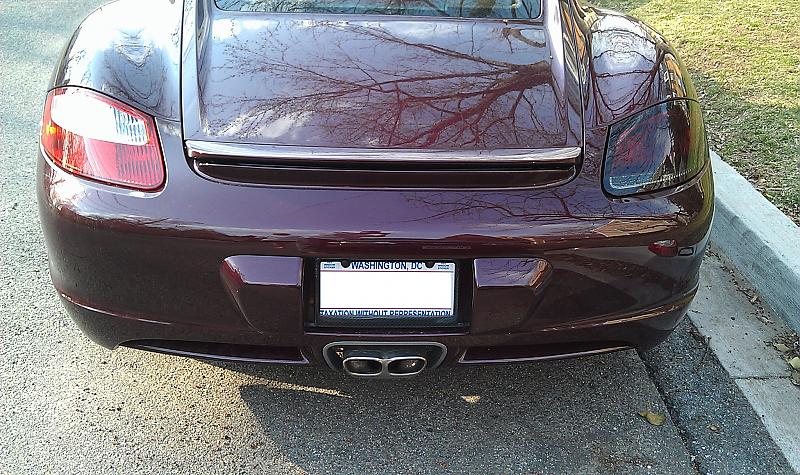
Jtec 987 Cayman LED Tail lights – ‘Smoked Red + Clear Signals LED Tail Light’
Article originally published by a member of Planet-9.com named N0tt0N